
You’ve successfully navigated the first few mows, and your garden is finally starting to look less like a construction site and more like a proper British lawn. But if you look closely, you might notice it’s a little thin in places, or perhaps the vibrant green is starting to look a bit... tired.
This is the point where many DIYers get a bit "trigger happy" with the lawn feed. It’s tempting to think that if a little fertiliser is good, a lot must be better. However, young grass is like a teenager: it has a massive appetite, but if you give it too much of the wrong thing, you’ll end up with more problems than you started with.
Finding the best fertiliser for new grass isn't just about grabbing the first bag you see at the garden centre. It’s about understanding what your specific lawn needs to move from "surviving" to "thriving."
Why New Lawns Need a Different Diet
Established lawns usually need a high-nitrogen feed to keep them green and growing fast. But for a new lawn, the priority isn't top growth—it’s the "engine room" downstairs. We need to focus on the roots.
If you push too much nitrogen (the stuff that makes grass grow tall) too early, the plant spends all its energy on the blades. This leaves you with a lawn that looks great for a week but has a shallow, weak root system that will shrivel up the moment we get a dry UK spell.
Understanding the NPK Ratio
When you look at a bag of fertiliser, you’ll see three numbers (e.g., 6-10-8). This is the NPK ratio:
- N (Nitrogen): For green, leafy growth.
- P (Phosphorus): For strong root development.
- K (Potassium): For overall plant health and disease resistance.
For a new lawn, you want a "Starter Fertiliser" which typically has a higher middle number (Phosphorus) compared to standard seasonal feeds.
When to Feed New Lawn: Timing is Everything
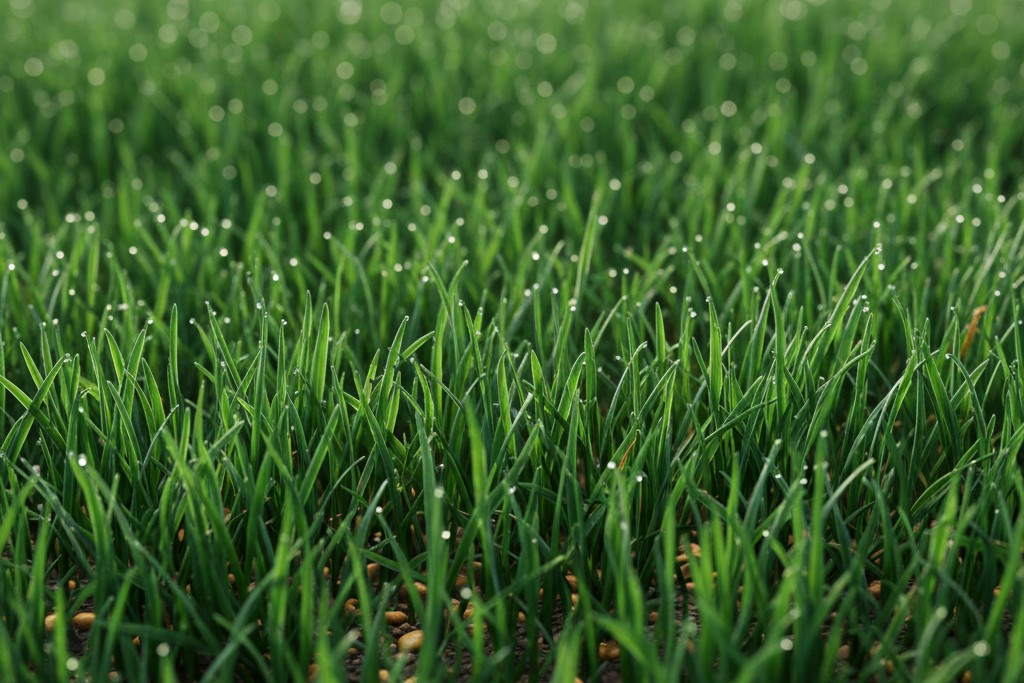
The biggest mistake you can make is feeding too early. If you apply a strong chemical fertiliser to seeds that haven't germinated yet, or to turf that hasn't rooted, you risk "root burn." The salts in the fertiliser can actually suck the moisture out of the tender new roots.
For Seeded Lawns
The general rule for when to feed new lawn grown from seed is to wait until you have mown the grass at least three times. By the third mow, the plants are mature enough to handle the nutrient boost without the risk of chemical shock. This is usually around 6 to 8 weeks after sowing.
For New Turf
If you’ve laid turf, the grass is already "mature," but the roots are stressed from being moved. You can use a pre-turf fertiliser underneath the rolls when you lay them, but for top-dressing, wait about 4 to 6 weeks until the seams have knitted together.
Liquid vs Granular Lawn Feed: Which is Better?
This is a classic shed-side debate. Both have their merits, but for a new lawn, the choice often comes down to how much time you have.
Granular Fertilisers (The Slow Burner)
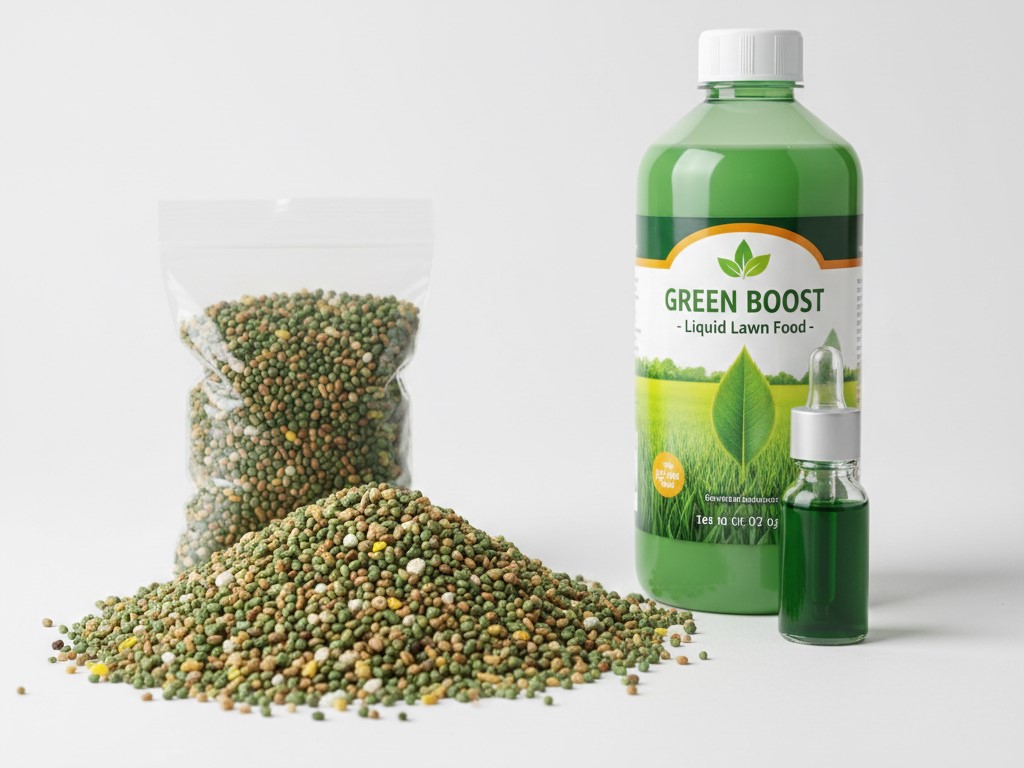
Most UK experts recommend granular feeds for new lawns. These tiny pellets break down slowly over 8 to 12 weeks, providing a steady "drip-feed" of nutrients.
- Pros: Easier to see where you’ve been; lasts longer; less risk of a sudden growth spike.
- Cons: Needs rain or a hose-pipe session to "wash it in" to the soil.
Liquid Fertilisers (The Quick Fix)
Liquid feed is absorbed through the leaves and the soil almost instantly.
- Pros: Immediate results; great for a quick "green-up" before a garden party.
- Cons: Results are short-lived; very easy to over-apply and burn the grass if you aren't careful with the dilution.
For lawn establishment, a slow-release granular starter fertiliser is almost always the superior choice.
How to Apply Fertiliser Without Making a Mess
We’ve all seen those lawns with dark green stripes and scorched brown patches—that’s the result of poor application.
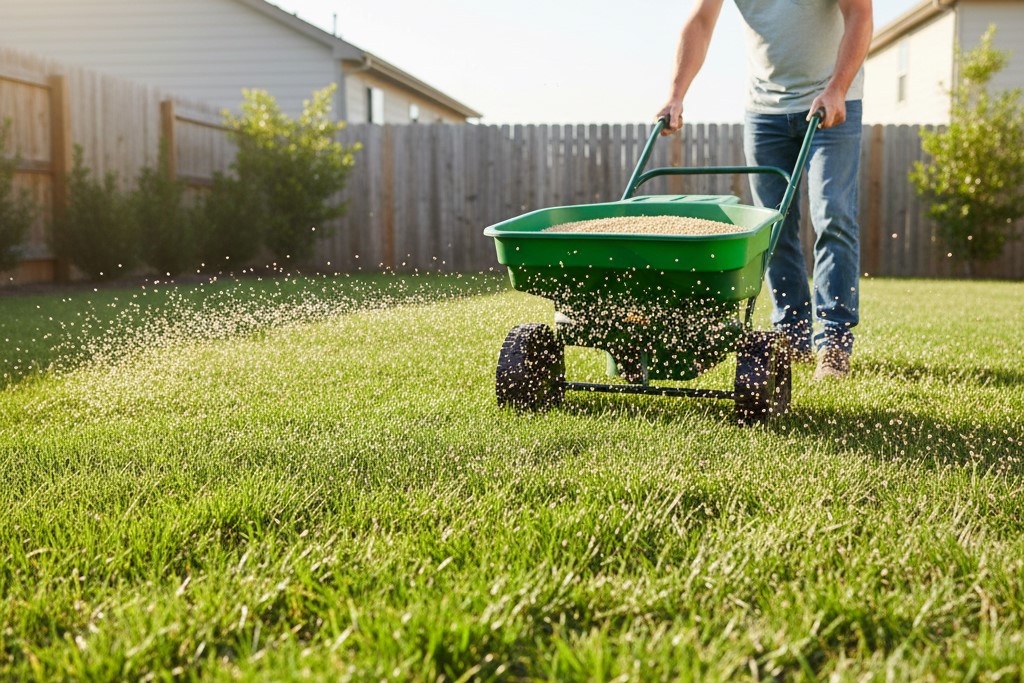
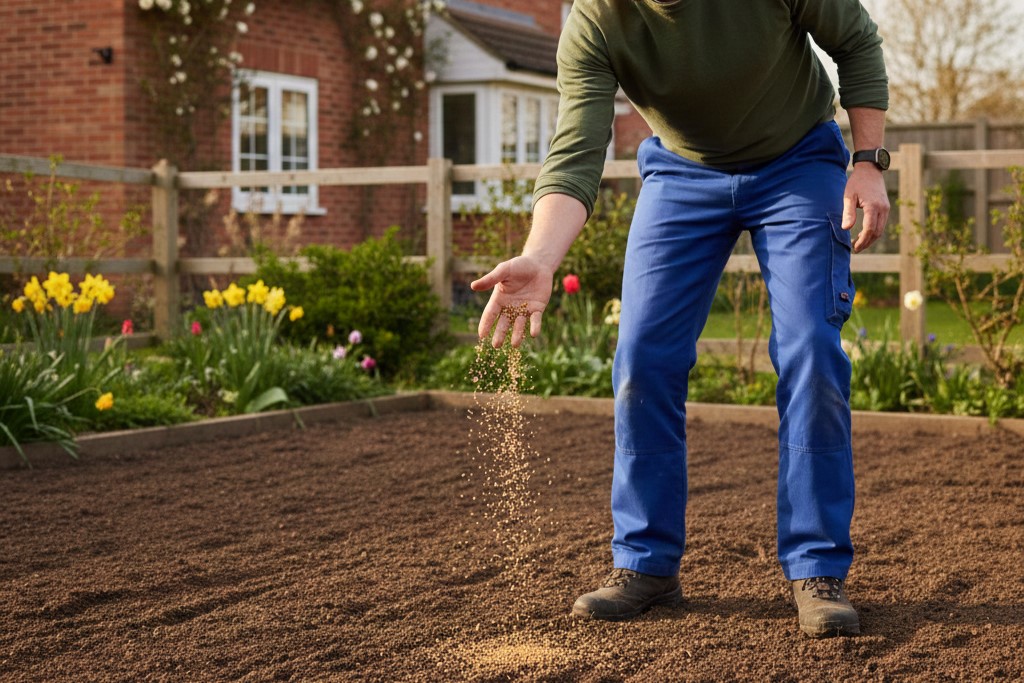
- Use a Spreader: Unless you have the steady hand of a surgeon, don't throw fertiliser by hand. A basic "drop spreader" or "rotary spreader" is a cheap investment that ensures even coverage.
- The "Criss-Cross" Method: Set your spreader to half the recommended dose. Walk the whole lawn in one direction (North to South), then do the second half walking East to West. This guarantees you won't miss any spots.
- Water it In: Unless the bag specifically says otherwise, you must water the lawn after applying granular fertiliser. This moves the nutrients off the grass blades and down into the soil where the roots can actually use them. If you see a heavy rain shower forecast for later in the day, that is the perfect time to feed.
Organic vs Chemical: The Best Fertiliser for New Grass?
If you’re worried about pets or the local bee population, you might consider an organic option.
- Chemical (Mineral) Feeds: These are "fast-acting." They provide nutrients in a form the grass can use immediately. They are highly effective but do nothing to improve the long-term health of your soil.
- Organic Feeds: These use ingredients like seaweed, poultry manure, or bone meal. They take longer to work because soil microbes have to break them down first, but they build a much healthier soil ecosystem over time.
For a brand-new lawn, a "hybrid" approach is often best—a chemical starter feed to get things moving, followed by organic sea-based feeds later in the season to build soil health.
Signs You’ve Overdone It (And How to Fix It)
Even with the best intentions, accidents happen. If you notice "fertiliser burn" (yellow or brown streaks appearing a few days after feeding), don't panic, but act fast.
The only cure for over-fertilising is dilution. Get the sprinkler out and give the affected areas a very heavy soaking. You are trying to wash the excess salts through the soil and away from the roots. It might look worse before it looks better, but most lawns will recover if caught early.
Summary Checklist for Feeding
- Check the Age: Has the lawn been mown at least 3 times?
- Check the Weather: Is rain forecast, or is the ground bone-dry?
- Check the Label: Does it have a high Phosphorus (P) count for roots?
- Check the Equipment: Is your spreader calibrated?
Feeding your lawn is the final piece of the "perfect lawn" puzzle. Do it right, and you’ll have a deep-rooted, resilient carpet of green that will be the envy of the neighbourhood for years to come.
0 Comments