
Let's face it: your lawnmower is the unsung hero of your perfect patch of green. Without it, your aspirational, bowling-green lawn quickly descends into a wild meadow. Yet, most of us treat our mowers with a distinct lack of respect, pulling it out of the shed, yanking the cord, and crossing our fingers it starts—maybe topping up the fuel if we're feeling particularly attentive.
If that sounds like you, it's time to change your ways! Giving your mower a little love doesn't require a mechanic's certificate or an afternoon locked in a stuffy garage. In fact, a bit of lawn mower maintenance checklist work is actually simple, straightforward, and will save you a fortune in costly repairs down the line. A well-maintained machine starts first time, cuts better, and lasts longer. It’s a win-win!
This comprehensive guide will break down all the essential tasks into an easy-to-follow, actionable schedule. We’re going to cover everything from simple post-cut tidying to the deeper, once-a-season servicing that keeps your engine purring. Let’s get you feeling confident in handling your machine's needs like a true expert.
Your Essential Lawn Mower Service Schedule: When to Do What
Think of maintenance in three simple phases: Immediate, Seasonal, and Annual. Sticking to this simple lawn mower service schedule is the key to preventing major issues.
Immediate (After Every Use)
These are the quick, non-negotiable tasks you should do as soon as you finish cutting. They prevent small problems from growing into big, rusty ones.
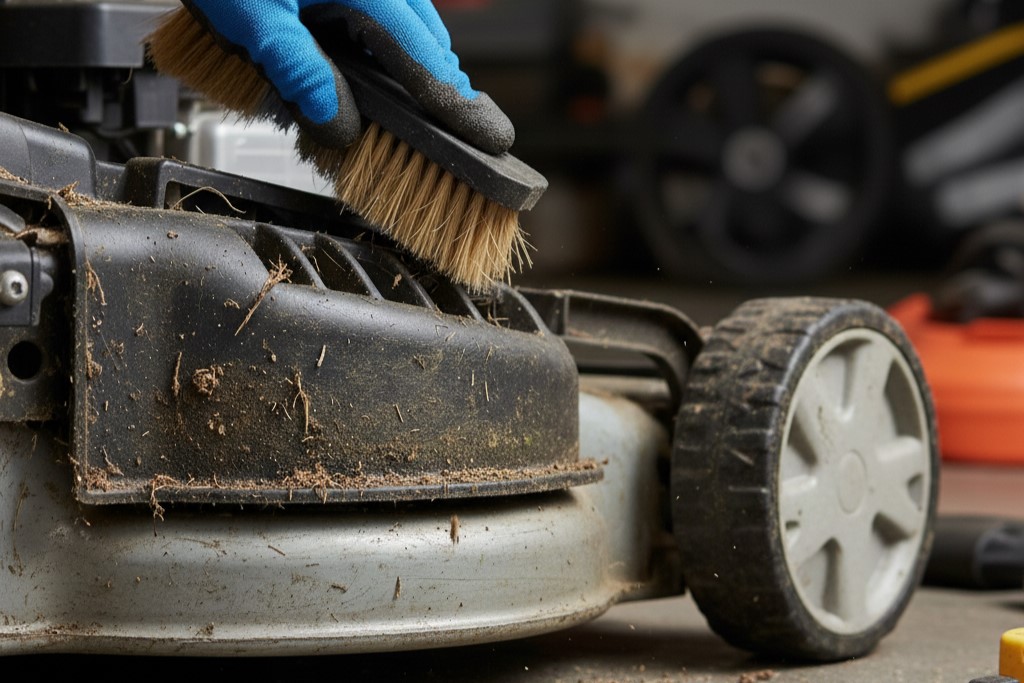
- Clean the Deck: Grass clippings, especially wet ones, are acidic and will cause the metal deck to rust quickly.
- Disconnect the spark plug lead (Safety first! You don't want it accidentally starting).
- Tilt the mower onto its side (making sure the air filter and carburettor are facing up to prevent oil/fuel seepage).
- Scrape off the caked-on grass with a plastic scraper or brush. Never use a jet wash as the forceful water can push debris and moisture into seals and bearings.
- Wipe Down the Exterior: Give the handles and engine housing a quick wipe with a damp cloth to remove dust and stray clippings.
Seasonal (Every 25 Hours of Use)
If you're mowing weekly during the main growing season (March to October in the UK), this generally means doing this deep check every few months.
- Check the Oil Level: This is like checking the oil in your car. Low oil equals a hot, damaged engine.
- Inspect the Blades: Look for nicks, bends, or excessive dullness. Sharp blades make a clean cut, which is better for your grass health.
- Clean/Replace the Air Filter: A clogged filter chokes the engine and makes it work harder, wasting fuel.
Annual (End of the Season/Before Winter Storage)
This is the big service—the one that sets your mower up for a long, healthy winter sleep and a quick start next spring.
- Change the Oil: Essential for engine longevity.
- Replace the Spark Plug: A new plug ensures easy starting.
- Sharpen the Blade: Get it perfectly honed before putting it away.
- Winterize: Prepare the fuel system for storage.
How to Change Lawn Mower Oil: The Engine's Lifeblood
This is one of the most neglected parts of the lawn mower maintenance checklist, and it's also the most crucial. Old oil loses its lubricating properties and is full of microscopic debris. Learning how to change lawn mower oil is a simple five-step process that anyone can master.
Step 1: Warm It Up
Run the mower for about five minutes. This warms the oil, making it less viscous and easier to drain completely. Then, disconnect the spark plug lead immediately to prevent accidental starting.
Step 2: Locate the Drain Plug or Dipstick
Most modern mowers have a dedicated drain plug, but many older or simpler push mowers require you to drain the oil through the dipstick tube. Check your user manual if you're unsure.
Step 3: Drain the Oil
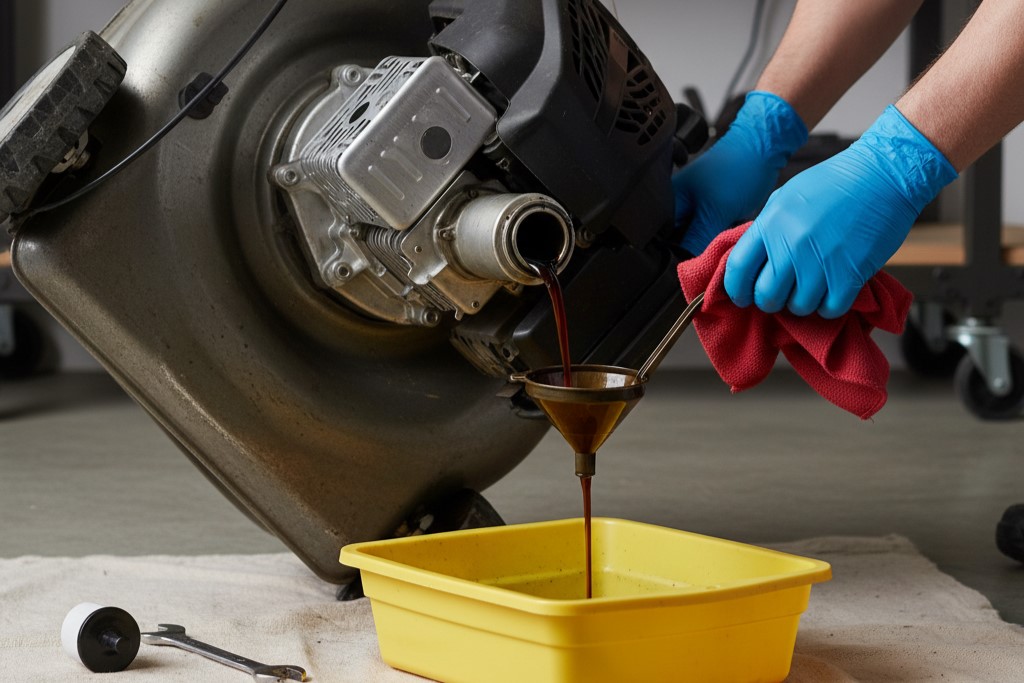
- Place an old container or oil drain pan on the ground to catch the waste oil.
- Remove the dipstick or oil cap.
- If your mower drains via the dipstick tube: Tilt the mower carefully so the oil runs out into your container. Remember the rule: Air filter side up!
- If your mower has a drain plug: Remove it and let the old oil flow freely.
Step 4: Refill
Once all the old, dirty oil is drained (this can take 5–10 minutes), right the mower, replace the drain plug, and slowly pour in the new oil through the fill tube.
Expert Tip: Check your user manual for the correct oil type (usually an SAE 30 or 10W-30) and the exact capacity. Overfilling is just as bad as underfilling.
Step 5: Check the Level
Use the dipstick, ensuring the oil is between the 'Add' and 'Full' marks. You may need to wait a few minutes for the oil to settle before taking a final reading.
Getting a Clean Cut: Lawn Mower Blade Sharpening and Care
A dull blade doesn't cut grass; it tears it. Tearing the grass creates ragged, brown tips, which is why your lawn sometimes looks stressed a day after you mow it. Lawn mower blade sharpening is critical for a healthy lawn and an efficient mower.
Removing the Blade
- Safety First: Disconnect the spark plug lead (again, this step is mandatory).
- Stabilise: Tilt the mower. Use a block of wood wedged between the blade and the mower deck to stop the blade from rotating.
- Unbolt: Use a socket wrench to loosen and remove the blade nut. Note the direction the blade is facing—you must put it back the same way!
Sharpening the Blade
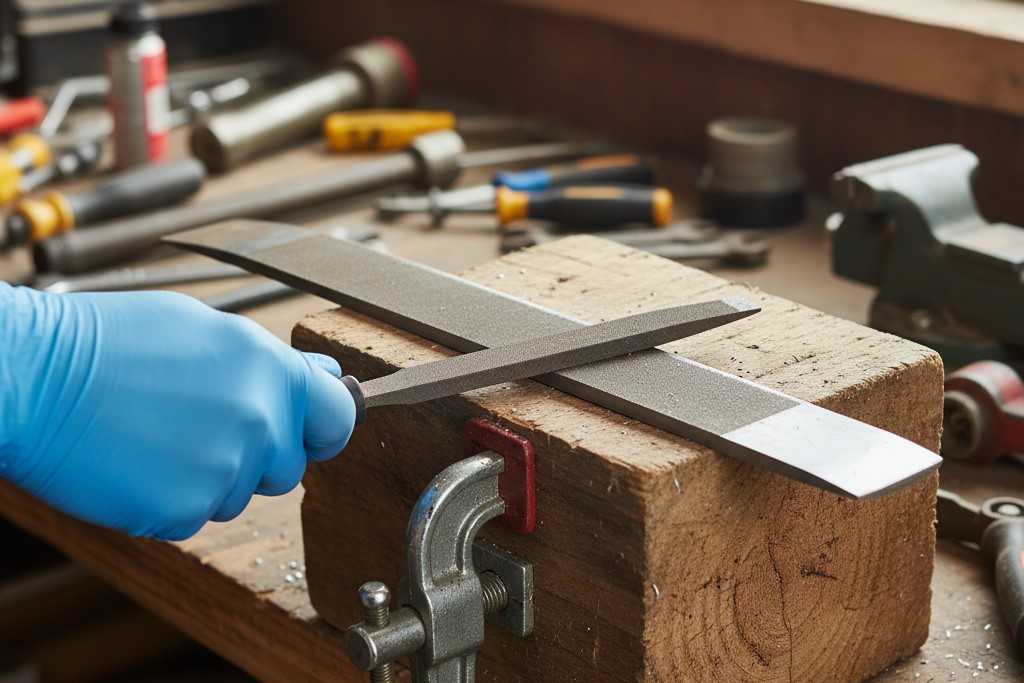
- Tools: A metal file, an angle grinder, or a bench grinder will all work. The goal is to restore the original 30-45 degree bevel on the cutting edge.
- Technique: File or grind towards the sharp edge, following the existing angle. Do not sharpen the entire length—only the last 2-3 inches on each end are the actual cutting surface.
- Balance: This is the most important step. If one side is heavier than the other, the blade will wobble at high speed, causing vibrations that can damage the engine shaft and bearings. Use a blade balancer (a simple, inexpensive cone tool) to ensure both sides weigh the same. If one side dips, file a little more metal off that side until it balances perfectly level.
Reattaching the Blade
Replace the blade with the cutting edge pointing in the direction of rotation. Tighten the nut firmly—it needs to be secure to withstand the rotational forces.
Fuel, Filters, and Firing: Tuning Up the Engine
A full service isn't just about the blade and the oil; it's about the little things that keep the engine running smoothly.
The Air Filter
The air filter is the engine’s lungs. A dirty filter restricts airflow, forcing the engine to burn more fuel and lose power.
- Inspect: Locate the filter housing (usually a plastic cover with a couple of screws/clips). Remove the paper or foam element.
- Clean/Replace:
- Paper filters: Tap them gently on a hard surface to dislodge loose dirt. If they are heavily soiled or oily, replace them. Never try to wash a paper filter.
- Foam filters: Wash them in warm, soapy water, squeeze out the moisture, let them dry completely, and then lightly soak them in new, clean engine oil. Squeeze out the excess oil before reinstalling.
The Spark Plug
The spark plug is what ignites the fuel/air mix. A clean, correctly gapped plug ensures a quick, reliable start.
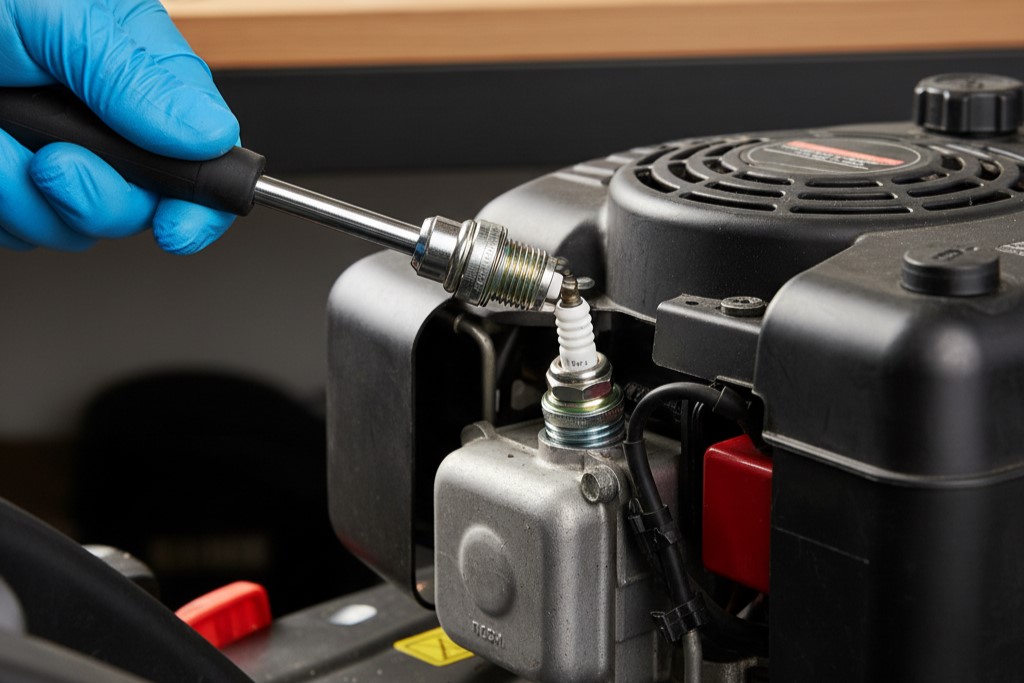
- Remove: Use a spark plug wrench. Remember to always remove the spark plug lead first!
- Inspect: The tip should be light brown or grey. A black, oily plug indicates potential problems.
- Clean/Replace: If it's just sooty, you can clean it with a stiff wire brush. If the insulator is cracked or the electrode is heavily worn, replace it. Check the gap (the space between the two electrodes) using a feeler gauge and adjust it to your engine's specification (usually around $0.030$ inches or $0.76$ mm).
Fuel and Storage (Winterizing)
Fuel goes stale, especially the petrol sold today with ethanol content. Stale fuel can leave gummy deposits that clog the tiny fuel lines and carburettor jets—a leading cause of major lawn mower repairs in the spring.
- Run It Dry: The best approach for winter storage is to use up all the fuel until the engine quits.
- Use a Fuel Stabiliser: If you can't run it dry, add a fuel stabiliser to the tank and run the engine for 5-10 minutes to ensure the treated fuel reaches the carburettor. This keeps the fuel fresh for months.
- Do NOT leave a full tank of untreated petrol in the mower over winter.
Troubleshooting Simple Lawn Mower Repairs: No Need to Panic!
Even with the best maintenance, things can occasionally go wrong. Don’t rush to the repair shop! Many common issues are easy fixes.
| Problem | Likely Cause | Simple Fix |
| Mower Won't Start | Old fuel, dirty spark plug, or clogged air filter. | Drain old fuel/add stabilizer. Clean/replace spark plug. Check air filter. |
| Engine Smoking | Too much oil (overfilled) or the oil is spilling/burning off after tilting the mower. | Check oil level and drain excess. Run the mower for a few minutes until the smoke burns off. |
| Engine Lacks Power | Clogged air filter or dull/unbalanced blade. | Replace the air filter. Sharpen and balance the blade. |
| Uneven Cut | Blade is bent or loose, or the wheel height adjustment is uneven. | Tighten or replace the blade. Double-check all four wheels are on the same cutting height setting. |
Remember, your mower is built to take a beating, but it thrives on consistency. By implementing this simple lawn mower maintenance checklist as part of your routine, you are protecting a substantial investment and ensuring that the most important tool in your quest for a perfect lawn is always performing at its peak. You’re now equipped with all the knowledge you need—go grab your wrench and get to work!

0 Comments